Rather late on the scene today, but we did lose an hour's sleep overnight. That is my excuse and I am sticking to it. More about my day later, as I did promise that I would try to do an update on Thursday's blog today, so here goes.
There are a lot of photos this time, but I hope it will help you to understand how I worked. I will tell you now that, despite a lot of care, when I got round to the point at which things should have joined up, I was fractionally out and had to fudge it a bit. With care and patience, you can get away with it, especially if you put the bit that is slightly out at the bottom of your finished piece. Some of the photos need a bit of peering at to see where we are, but if you click on them to bring them up, that should help.
Before sticking it down, rub the back of your parchment with a tumble drier sheet, to lubricate it when you turn over to do the embossing.

This is the important start, where you need to anchor the parchment very firmly to the plate mate. (what is the ideal number of Groovi tabs to use each time - however many it takes to avoid movement. ) I would advise you to use an A4 piece of parchment as it is so annoying to suddenly realise your hard work is lost because it will not fit. All I have done here after sticking it down is to perforate all the available holes on the plate.


At this point, I think I am on track with two corners done. I have to admit that I do not work in the best position as I tend to do this, while listening to the TV with my work on a lap tray.

Ideally, you should work on a flat table, where you can get your head right above your work, especially when you need to turn and reposition.

This is the final corner where things hould have matched up perfectly. At one time, if I had got here and realised that I was not 100% accurate , I would have screwed this up and thrown it into the bin and either started again or given up for ever.
However, I am wiser now and I have learned that you can get away with imperfections and thos imperfections are what make your wok personal and unique. Really bad ones can be helped with the addition of butterflies, dragonflies or flowers. Even a pretty bow can be used. By the way, not all of those additions are covering problems, sometimes we add them just because we want to and we can.

 This is the first corner, where I first started doing the perforating. I have now turned the parchment and plate over so line up the design perfectly, ready to start adding the embossed dots. Again, you need to be right over the top of your work with a good light, to slot the dots in between the perforations, and then anchor it down. After sticking it down, check again to make sure your dots are in the right place. It is amazing how often the parchment will have moved just fractionally.
 This is the whole thing completed all round, and you should be able to see where I have had to fudge it to make it fit reasonably. I am not going to stress over it as, by the time the whole piece is done and dusted and the bad bit put at the bottom, it will not be noticeable unless you really peer.
 This is the start of my re-perforating and then snipping, the bit I really love. Remember, just the tips of the scissors into the holes, squeeze till you see the "v" form, and then snip. That little click as it works is so addictive and pleasing. Again, lots of practice on spare bits of parchment are key to getting things right.
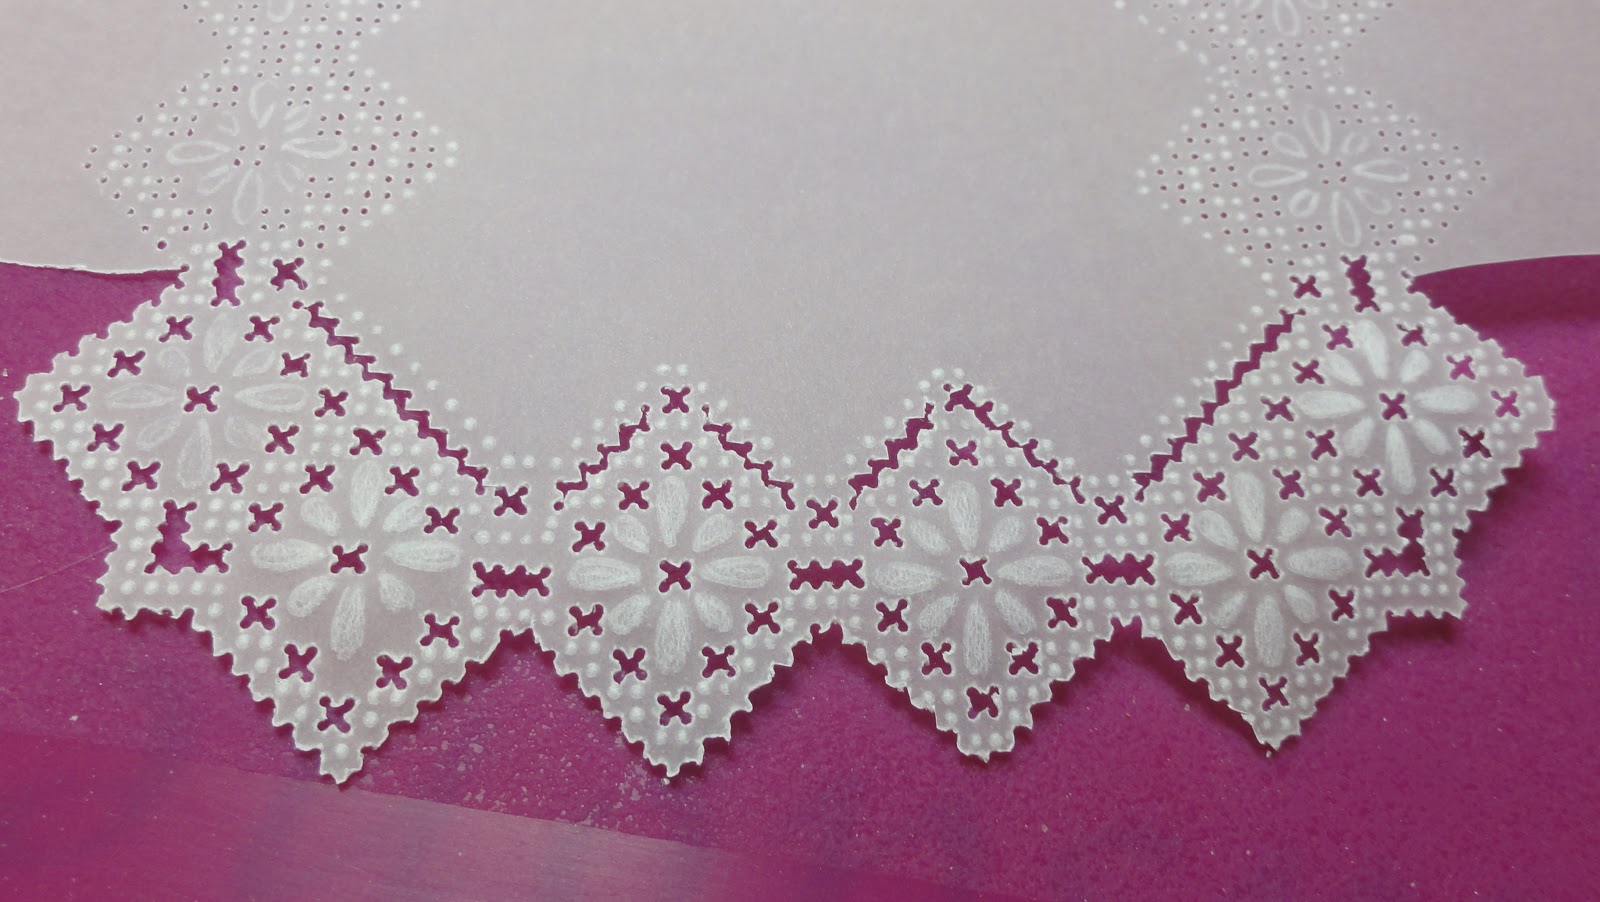
 One very good tip from Josie is very important when you come to the snipping across the line at the top of this picture - when you have slightly wider gaps to snip, do those bits first, and then do the narrower gaps after. It will give you a much neater result.
 On this photo you can see the first and last corners, both finished and you should be able to see how I had to adjust the last one. You may also have noticed that my embossing of the lines for the flowers is rather scratchy and messy to begin with. That was partially deliberate so that they would not show once I had done the white work, and partially because I forgot to rub the back of the paper with the tumble drier sheet before starting the perforating.
 This is the first corner, now re-perforated and snipped. Josie Davidson, the talented designer of these plates, does not re-perforate but she is an expert and knows exactly how deep to go. I am not an expert and find this way suits me. As long as your holes are clear and good round holes, then you will get good snipping.
I hope this has helped some of you and not caused too much confusion. If you have any questions, just put them into comments on this blog and I will try to sort them out in future blogs very soon. There are one or two other little tips that I would like to add to this, but I reckon this post is a bit of a marathon for you and me as it is.
6 comments:
Thank you for sharing all of that Maggie. Big help for a lot of people. You explain it well and in a way that people will be able to follow easily.
Hugs xxx
Thanks Maggie, must have taken you ages to do this with all the pictures & method in words. It all makes sense though & will be a big help.
Thanks Maggie, very detailed advice there, must have taken you ages. I have all the King's & Queens plates but due to a few life difficulties haven't had time to play yet, but will save your post to help me when I do. Very kind of you to take the time and effort, much appreciated. Xx
Well done Maggie. Lots of helpful photos there. Butterflies are great for those errors well unless it is a man's card of course might have to rethink then. X
Thanks Margaret. A very detailed blog and very very helpful. As others have said a very detailed and easy explanation for us all to follow. Good idea to snip the wider bits first. Hopefully my smaller bits will get bigger as mine did look a bit of a mess. Good advice as well about mistakes being at the bottom. Carole Waechtler who I go to always said put mistakes bottom left if you can.
Thank you for sharing. What a delicate work.
Post a Comment