If this theme for a challenge had come up a few months ago, I would just have ditched any idea of taking part. However, I think many of us are starting to take our card making further into canvases and boxes and coasters, things that we can display around our homes. We have been encouraged, dragged and kicked down that route by some of the beautiful tools that have been presented to us and all the fantastic inspiration of Barbara Gray and her fabulous Design Team.
I very deliberately avoided looking at any of the wonderful things from the Design Team as I wanted my inspiration to come from within me and I had ideas anyway.
It just happened that my youngest granddaughter's birthday falls this month and I found just what I wanted at an excellent local craft store, Pink Tulip Creations Ltd at Spernal in Warwickshire (just down the road). It was a little wooden box in the shape of a book.
It also just happened that Barbara Gray had showcased her beautiful Wee Fairies and Elves on Create and Craft at the start of the month. So for a four year old, the castle and the fairies had to be put together for this project.
It took a while to work out how to prepare and do the initial painting as it was the first time I had done anything like this. I tried inks but soon came to the conclusion that I would never get the effect I wanted that way, so settled on watered down acrylics, pale blue in the top half blending to pale green at the bottom. I think I used at least three coats to cover it properly, then I left it to dry overnight.
The following day, I set to work with the Wee Fairies, Elves and the Castle, stamping them with Archival Black. Because of the slightly rough grain of the wood, I got a slightly distressed effect from the stamping, which I preferred to a smooth version. The castle in the centre was stamped and inked on Theuva card and put behind the removable glass (designed for a photo).
Once all the painting was finished and thoroughly dried, I used the Crafters Companion Spray and Shine to seal it and give it some protection. I sat out in the conservatory in the sun with the box balanced on one hand while I sprayed and turned each side in turn to the sun to dry it off. Good thing no-one came to the door while I was doing it as I could not put it down until it was dry.
Then I had to possess my soul in patience until the lacquer was thoroughly dry and hardened off before I could put the inserts back into place. That was hard as I am not a desperately patient person. I wanted it done right then.
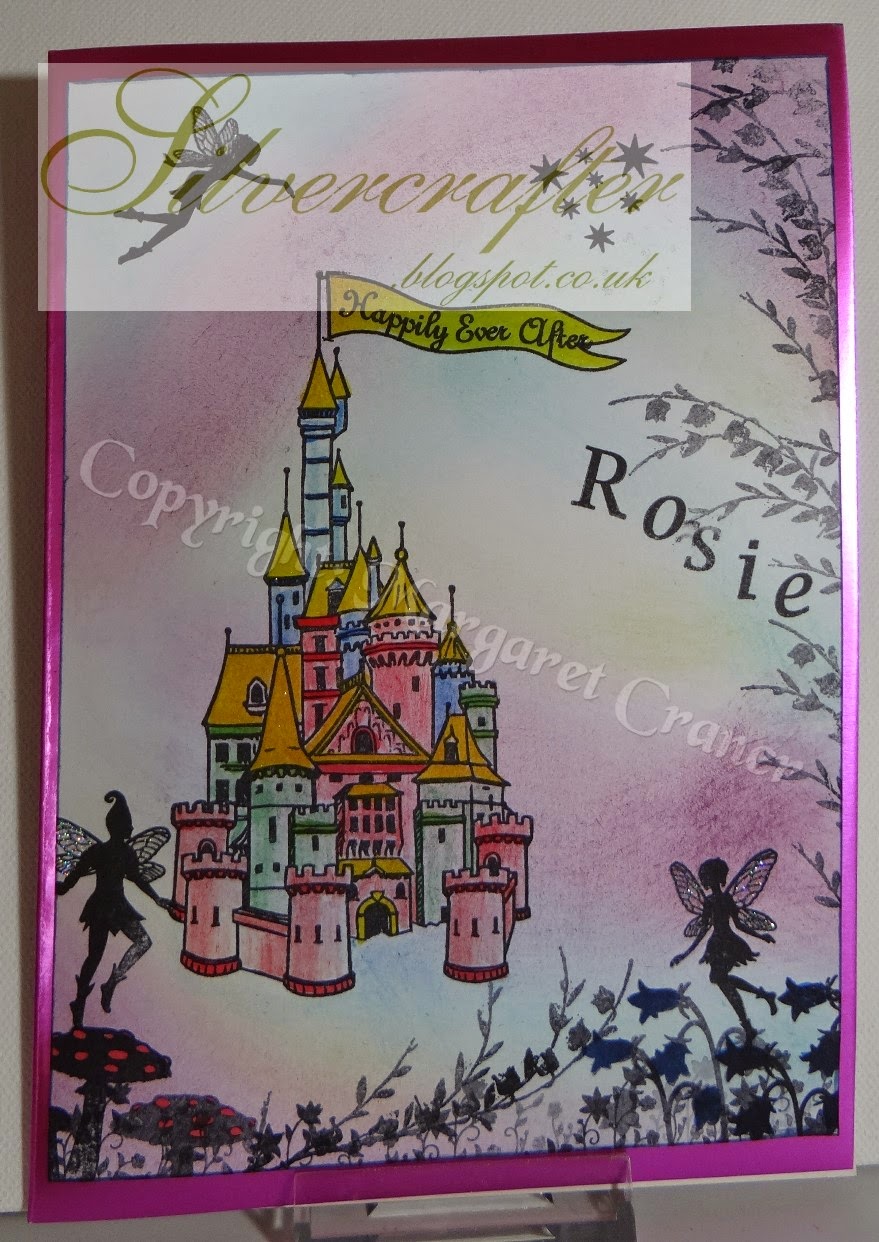
The card was also covered with the castle and fairies. I already had the background done from when I was filling in time at a class, waiting for everyone else to get to the right stage to continue that project.
So all I need to do was the stamping of the images and colour them in with Derwent Coloursoft pencils which blend so beautifully.
As you can see, I have just learned to put watermarks on all my pictures to give my designs some protection so I hope you can see everything through them.
Ingredients
Wooden box (Pink Tulip Creations Ltd)
Wee Fairies (Clarity Stamp)
Wee Elves ( Clarity Stamps)
Castle (Clarity Stamps)
Letterbox Stamps (Clarity Stamps)
Theuva Card (Clarity Stamps)
System 3 Acrylic Paints
Derwent Coloursoft Pencils
Crafters Companion Spray and Shine
Rosie was supposed to get this last Saturday, but the arrangements were changed at the last moment, but I am hoping that she will see it for real later this week. I am off now to link this post up to enter the Clarity Stamp Challenge before March disappears completely.


