
Showing posts with label vellum wrap. Show all posts
Showing posts with label vellum wrap. Show all posts
Tuesday, 2 November 2010
Taste of the Orient

Friday, 25 June 2010
25th June 2010 - mixing mediums up
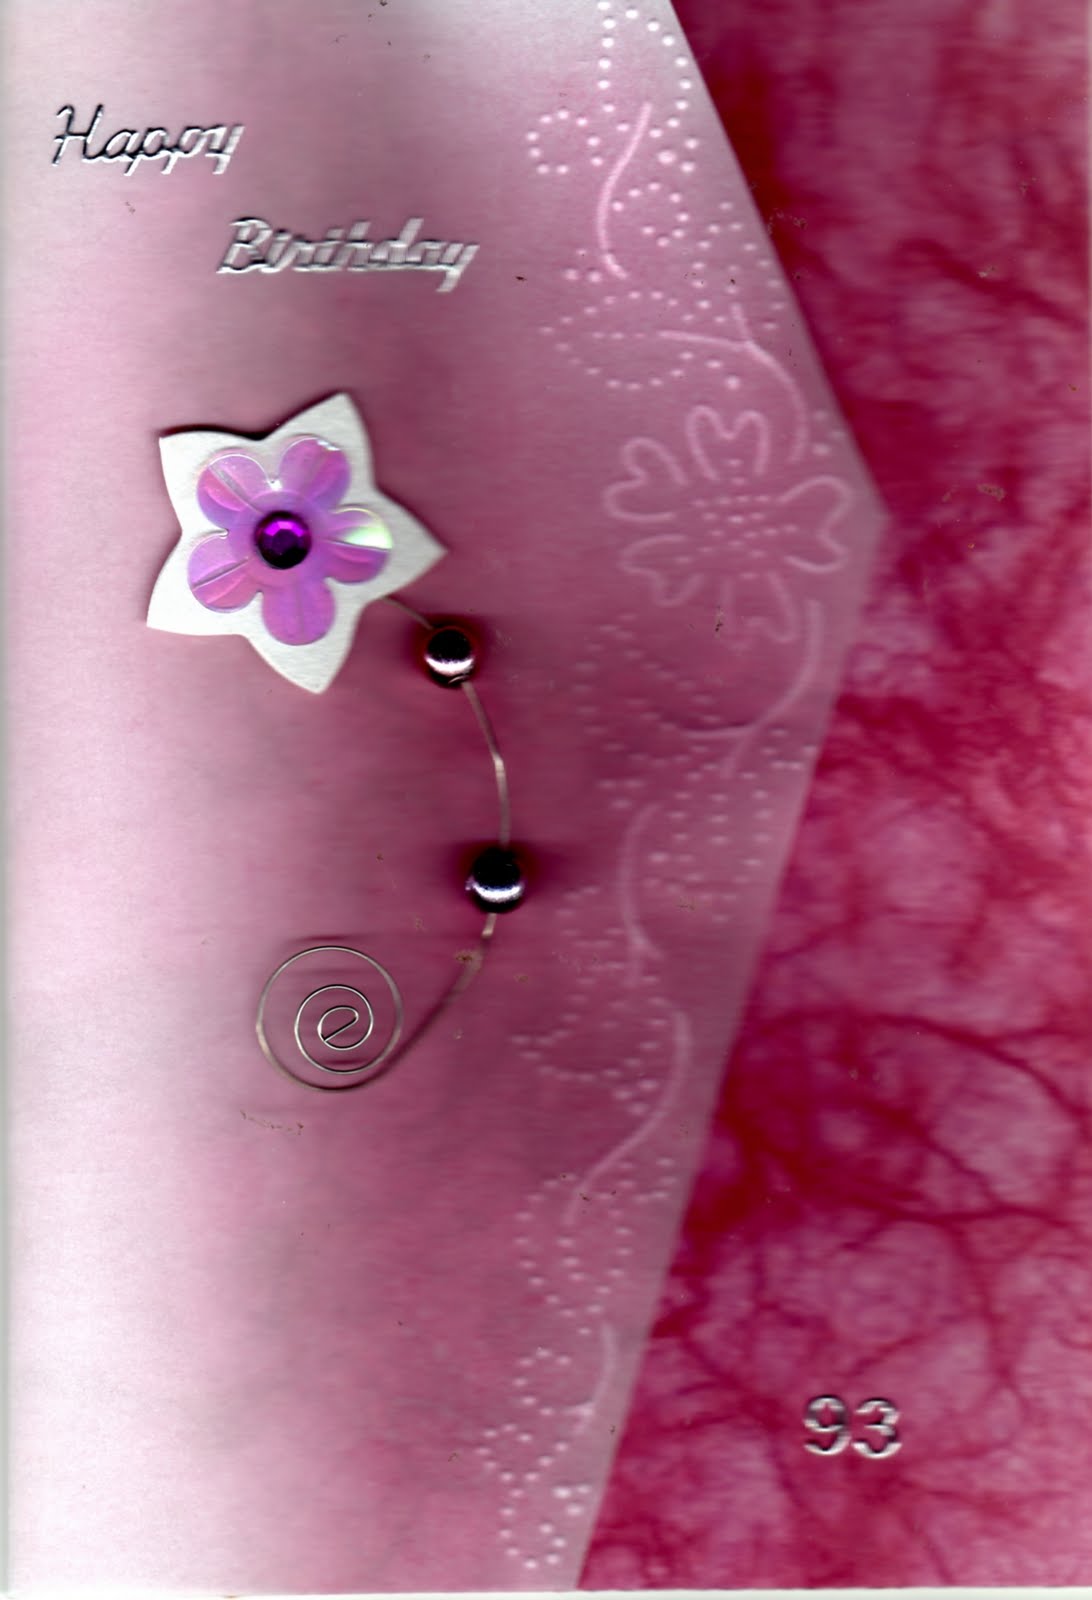 This card was an early one, done when my craft box was quite a small one. I printed the base card with a background paper, downloaded free from the net. Then I added a shaped vellum wrap, embossed and cut with one of my few stencils. I had found a huge box of pastels in the bargain section of Lidl, and used them as chalks (applied with twists of cotton wool - large economy pack) to highlight the embossing andshade the vellum to match the card. A small embellishment and a peel off Happy Birthday finished it off.
Pastels applied to things that appear to have gone wrong can really create brilliant results, that everyone thinks you have spent hours doing.
Monday, 21 June 2010
Relaxing is such hard work - 21st June 2010
 A little bit of tweaking and this holiday photo of an old bridge over the River Tavy will probably find its way onto a card sometime in the near future. Our weather so far has been incredible. In fact, we have spent today in the cool of the caravan site on the Lizard Peninsula. We shall go down later to Mullion Harbour to let the dogs have a good swim, lots of fun, and cooling off too. After swimming they both sleep all night - peace for us.
I have done some crafting while we have been away, just a bit of water colouring, and some embossing, trying out new techniques. I have loads of very old embroidery transfers and have experimented with several different techniques. I have scanned them all to computer, so I can print them out whatever size I wish. Printing onto acetate and using pens to colour in can be very effective, then cutting then to mount them in aperture cards. Just mounting them onto plain white card is also good, covering the edge of the acetate with peel offs or some other type of frame.
Another effective technique is to either print them onto vellum, using My Craft Studio Professional, changing the outline colour to pale grey. Then you use your embossing tools to trace the outline, using as much embossing as you wish to achieve a satisfactory result. The shading tool can transform a basic embossing into something really pretty and delicate. Don't try to emboss deeply to begin with, go over each line 3 times gently to avoid puncturing the vellum. Pansies are a really good flower to start with for embossing and shading. I will try to post a photo of pansies tomorrow, once I have transferred it from camera to computer.
Saturday, 12 June 2010
June 12th 2010 - Use your brain power and time to save money
 This card is an example of achieving an effective card without spending a fortune in money, just time and thought. This is one of Joanna Sheen's images, really clear and sharp. I saw it demonstrated on TV, printing on to expensive gold paper, and thought it was so good that I wondered if I could do something on the same lines. In my cupboard, I had some plain gold printable paper, so I tried printing on that on best quality print, with quite good results. Then I sprayed it with 3 separate layers of Spray and Shine, which really made the tiger pop out brilliantly. The Happy Birthday sentiment on the front was printed on vellum on text print, and instantly embossed with gold. That way you can choose exactly what you say and the design of the font etc to personalise the card completely. Both the image and the sentiment are mounted on gold mirri card, and then onto the base card from the Stardream and Majestic range from PDA Cards.
Today's Tip: At some time, you will almost certainly start on a project which goes wrong. don't bin it or destroy it yet. Put it to one side for a while, then have another look. If you still cannot see a way to recover, keep putting it away and going back to it. It is very rare that a project is totally unrecoverable, and inspiration will hit at some stage and give you something to be proud of.

Subscribe to:
Posts (Atom)